Saturday, January 28, 2012

French Toast Sticks

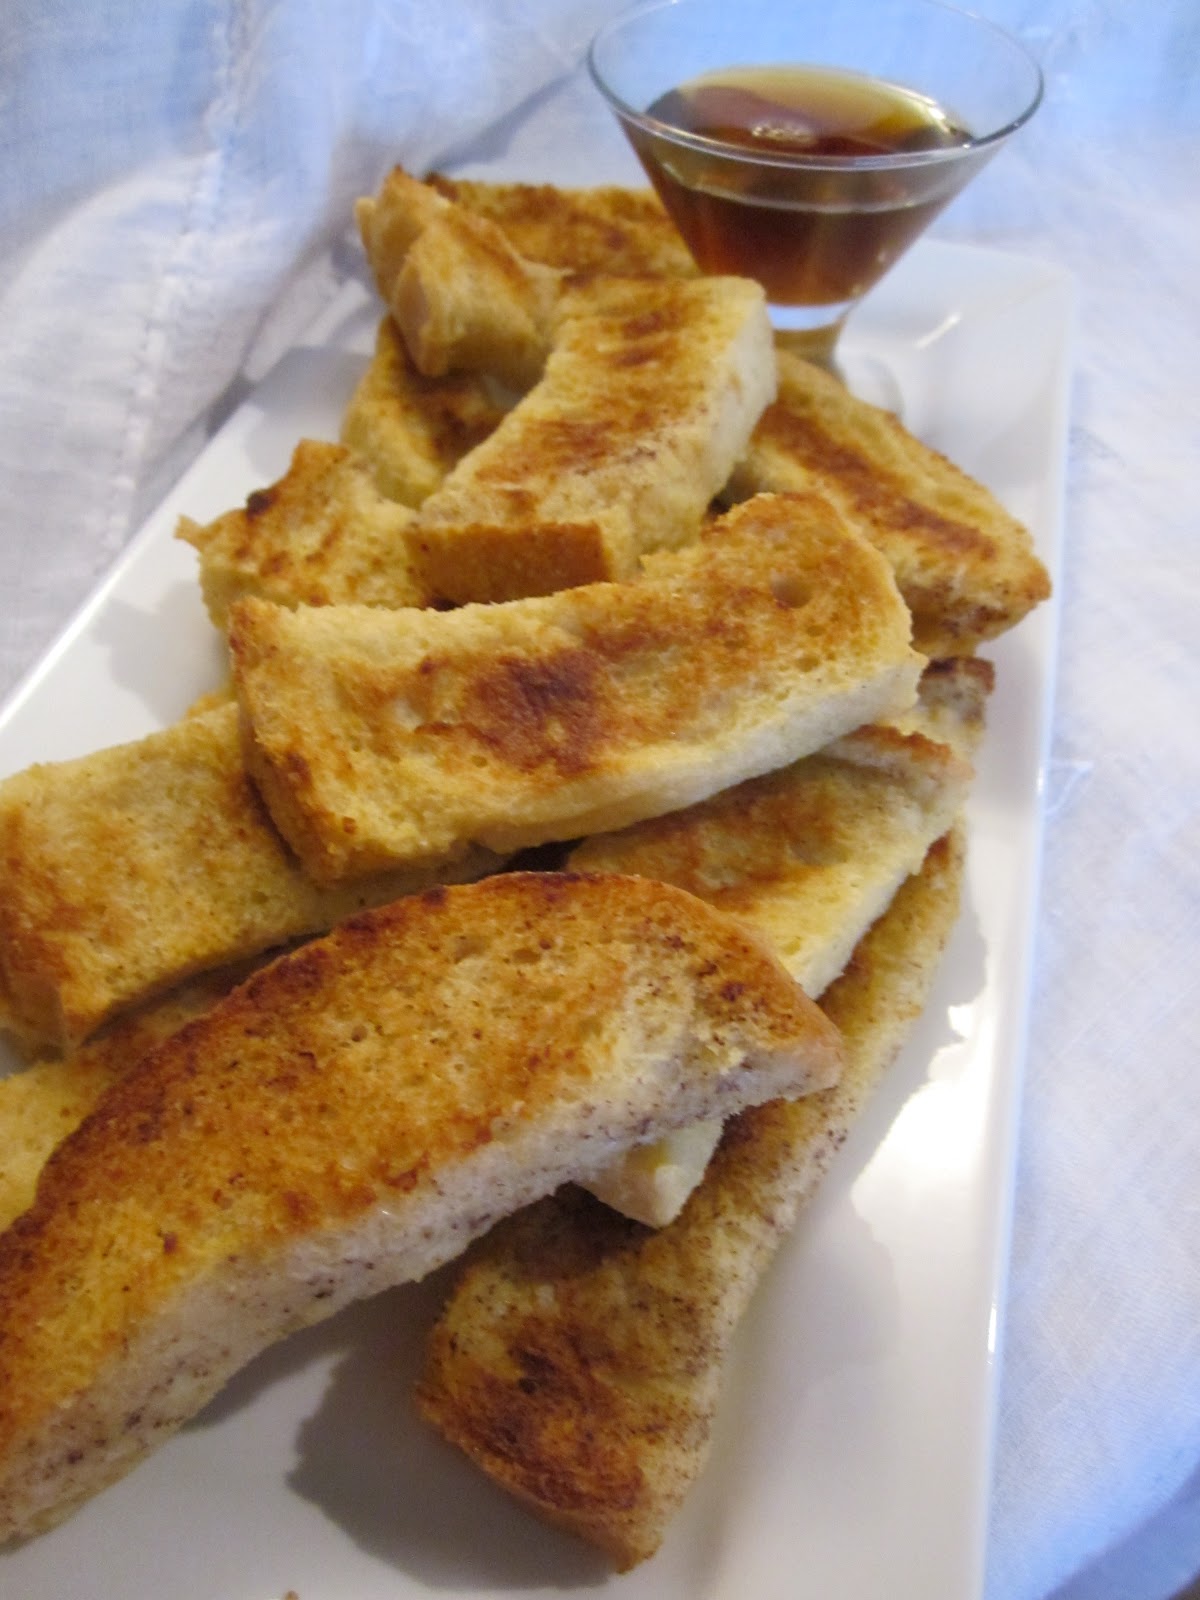
golden brown with some maple syrup to dip
After two weeks of south of the border inspired recipes, I thought it was time for something completely different. You may know french toast sticks as something in your groceries freezer section. I'm here to tell you that these are easy to make AND easy to freeze + much less expensive than the kind in the grocery store. Make up a big batch, freeze them, and have super delicious times for less money for snacks and breakfasts.

I thought that just french toast sticks, while delicious, wasn't very well rounded (I at least like to cover two food groups with my snacks) so I made some tasty fruit-salad kebabs. Really you could just make fruit salad, but kebabs are more hand held for snack purposes. They would be more economical in the summer/fall when fruits are in season, but my local store had some fruit on sale and I took advantage of that.

My intention was to make a maple cream cheese dipping sauce for the french toast sticks, but I forgot to buy cream cheese. Maybe in the future I will update this because it would be seriously tasty.

French Toast Sticks

Ingredients
fruit kebabs in a mason jar

About half a loaf of Italian bread (texas toast or french bread would also work)
1 cup milk (I used 2%)
3 large eggs
1tsp vanilla
2 Tbsp real maple syrup
pinch salt

Directions

The night before you plan on making your french toast, slice your bread into about 3/4 inch slices and put on a wire cooling wrack to stale up over night. The stale bread holds up to the batter better.

Preheat your oven to 360 degrees (I found 350 wasn't quite hot enough).

Mix together all of your ingredients in bowl until the egg is well incorporated. Pour the mixture into wide dish (a casserole dish works really well).  Slice your bread slices into 1-1 1/2 inch fingers. Set each finger into the mixture, letting it absorb for about 30 seconds on either side. Set back on the cooling rack to drain excess mixture for at least 2 minutes.

Place fingers on a parchment paper lined baking sheet. Don't let them touch as they will stick together.

Bake for 30 minutes, flipping half way through. Sprinkle with cinnamon if desired and serve with maple syrup or fruit.
These were really yummy with a nice custard texture inside and crunchy outside. And the best part? Baked, not fried for a little healthiness boost!

Saturday, January 21, 2012

Easy Homemade Salsa

Sorry for the majorly late post, we had some computer difficulties this week and ended up having to reinstall Windows! Not so much conducive to uploading photos.

This past weekend I worked both Saturday and Sunday (hard for the money) so when I returned home and Nathan gave me the puppy-dog look and was like "snack" I was not in the mood for anything complicated... or messy... or with stirring or extended chopping. I'd been standing pretty much for seven hours and my feet were saying "no more".

Now many of you are going "why didn't Nathan make his own snack? is he some sort of lazy mysognistic jerk?". While at that particular moment, my feet were screaming "yes, yes he is" my heart was going out to him as he was watching his beloved Packers lose their chance at the Super Bowl and I thought snacky goodness my ease the pain. Plus he would not have taken a picture and then I would have been left with a much less exciting post.

To the snack! Homemade salsa is super easy, super delicious, and super cheap (three of my favorite things!). It's tasty with chips, any recipe that calls for salsa, on eggs, or by the spoonful. General yum.

Homemade Salsa

Ingredients

1 large can whole canned tomatoes
1 green bell pepper
1 small onion
1-2 cloves garlic
1 fresh jalapeno or about 6-7 slices from a jar/can

Directions

Drain the tomatoes. You can freeze the juice and use it later in chili or soup or whatever. You will forget it in the fridge and it will go gross and moldy. Freezing is the way to go. If you like your salsa to be low liquid, you should pierce and squeeze each tomato to drain out some of the juices inside as well.

Seed and quarter your bell pepper. Peel and quarter the onion. Peel the garlic. If using  fresh jalapeno, remove the stem.

Add all but tomatoes to your food processor. Pulse a couple of times to large rough chop. Add in the tomatoes. Pulse a few more times until everything is small but not completely pureed. You can have the salsa be as chunky or not as you like.

Pour the salsa from your food processor to a small pot. Simmer uncovered for 10 minutes to combine flavors. You can skip this step if you want, but I like how it tastes better after its simmered.  Cool and serve with chips. (we didn't let ours cool much because we were hungry).

I made cheesy chips by putting about a cup of shredded cheese on top of my chips and sticking them under the broiler for about a minute.

You can store the salsa in your fridge for about a week.

Friday, January 13, 2012

Tex-Mex Dip and Homemade Chips

I have this great book of fingerfood recipes that has a ton of great ideas. The basics of its recipes are awesome and the reality of them are ridiculously challenging and full of ingredients I have no access to. I don't live in NYC or LA. I'm in Delaware and while we have a respectable number of of ethnic food stores, there are some things I can't get. My regular grocery store doesn't even carry dried lentils. 18 different types of dried beans, but not a lentil in sight. Weird right?
yum! I would eat you again through the picture if that were possible

Anyway, I flip through my fingerfood book, looking at all the pretty pictures and generally inspiring myself. This recipes is adapted from one in my book using ingredients I could find and liked (cilantro is gross) using techniques that seemed more practical than those in the book (why would I drain tomatoes when I can just seed them? why would I bake the sausage on a pan when I can stir it in a skillet?).

It turned out really well and Nathan and I both enjoyed it. It was more mild in flavor that I anticipated with the amount of chorizo sausage which I think of as quite spicy. It's possible that that was due to the brand I bought. I would probably add in some diced jalapeno or other spicyness in the future.

Tex-Mex Dip with Homemade Chip

my mouths view
Ingredients

8 6-inch flour tortillas
3-4 Tbsp olive oil

8 oz chorizo sausage (uncooked)
2 cups tomato (seeded and chopped)
1 avocado chopped
1/4 red onion chopped
2 tsp balsamic vinegar
1 tsp olive oil
sour cream

Directions

Remove chorizo sausage from casings. Cook in a skillet until browned. Put on a paper towel lined plate and set aside.

Cut tortillas into triangles (about 6-8 per tortilla). In a large pan, heat 2 Tbsp of olive oil over medium-high heat. Add in a layer of tortilla triangles. Fry for about 30 seconds on either side, or until golden brown on both sides. Remove to a paper-towel lined plate.  Add more olive oil as necessary and continue frying until all triangles are golden brown. These are not going to be crispy like a corn chip, but they are going to be super delicious.

In a bowl, mix together tomatoes, avocado, onion, balsamic, and olive oil. Stir in the chorizo sausage.  

Spoon on top of chips with sour cream.

Friday, January 6, 2012

New Years Tomato Cheese Hand Pies

So it's been a couple weeks since my last post.  I totally intended to post one of the delicious foods that was prepared while I was visiting with my family in Florida, but somehow I managed to not. And then New Year's Eve came around and I made foods and thought "good enough".

We had a very relaxing New Year celebration with a couple of friends, tasty food, games, and watching the ball drop at midnight. I didn't want to go overboard, but still made a couple of classic party foods. The hit of the evening were the tomato-cheese hand pies. I was not convinced that they were going to be awesome, but one bite of the delicious filling changed my mind.

I adapted my recipe from Paula Dean (http://www.pauladeen.com/recipes/view2/967) because while I personally find her voice irritating, her recipes have never failed me.


Tomato-Cheese Hand Pies

Ingredients
about 2 cups of seeded and chopped tomatoes
1/2 cup chopped green onions
1 tsp dried thyme
1 Cup good sharp cheddar cheese
1/2 cup mayonaise
1 container refrigerated biscuits 8 count.

Directions
Preheat your oven to 375 degrees.

Seed your tomatoes and chop. Mix in green onions and thyme. Stir in mayo and cheese. Set aside.

Tear each biscuit in half and roll into a circle. I rolled mine into about 3-4inc circle. Put a heaping tablespoon of mixture into the center of each biscuit. Fold in half and pinch together the edges to seal. You can use a little bit of water on the edges to help the seal if you need to.

Bake for about 12 minutes or until golden brown. Can be served immediately but are also good at room temperature.
the whole new years spread


These were a super hit, even with those who are not huge veggie fans. I think I would add in about half a cup of diced ham to replace half a cup of tomatoes if I make them again. I think the ham would really mesh well with the flavors already present.

Happy New Year!